Getting Started
Goal: get one AI tool talking to the EasyEDA Pro project you already have open.
For the shortest version, use Quick Start. This page explains the same first setup with a little more context.
If a step fails, jump to Troubleshooting.
How It Fits Together
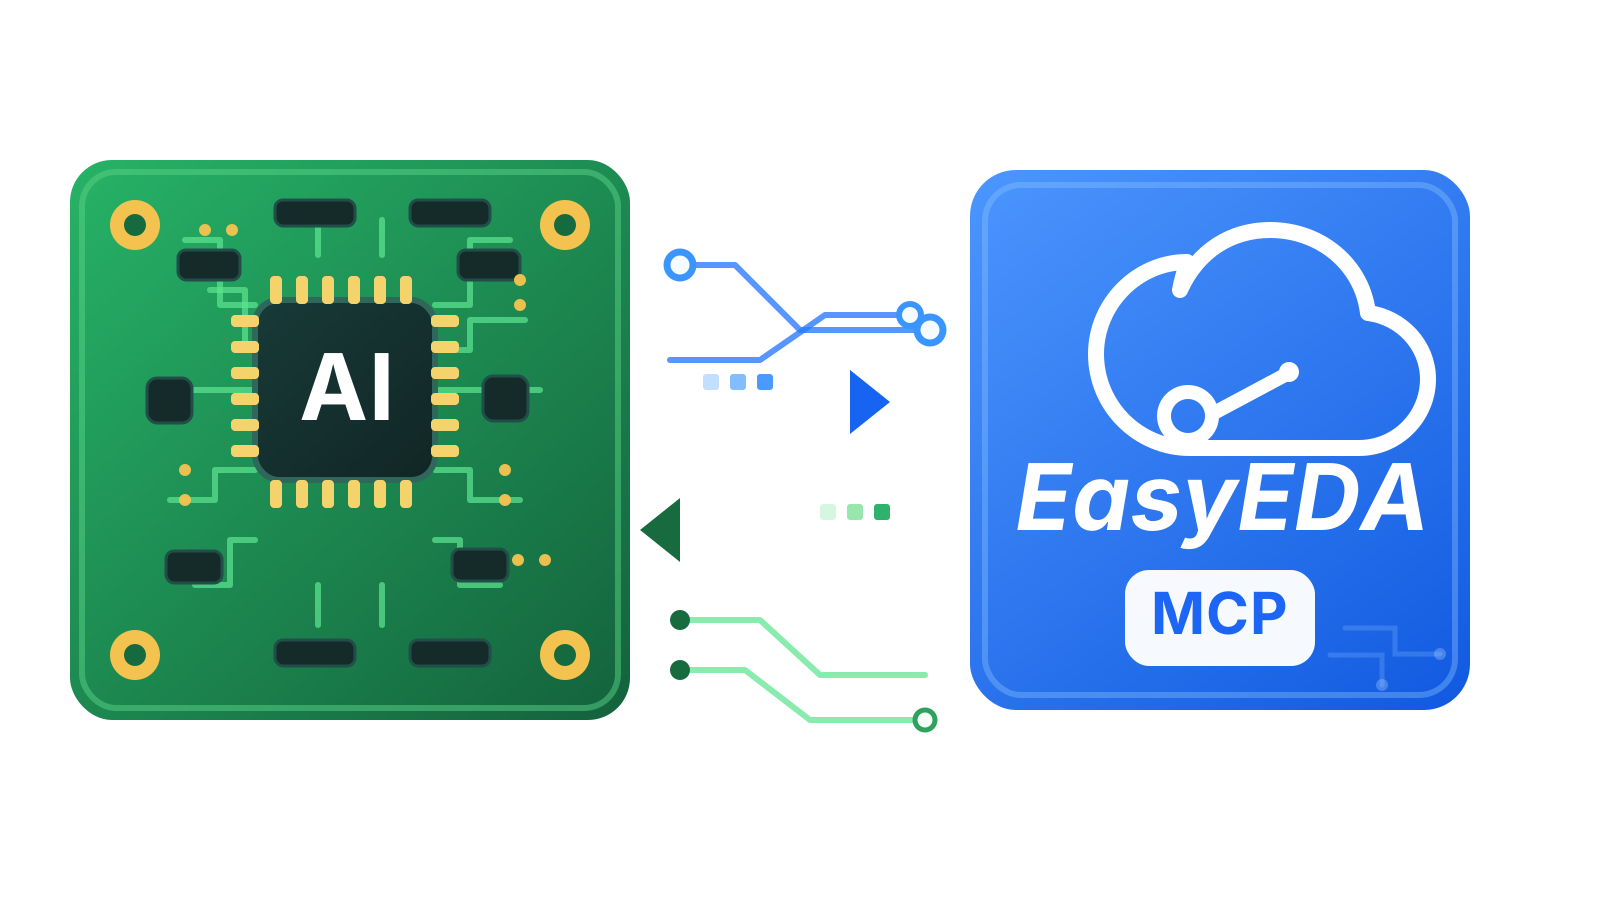
AI tool -> local MCP server -> EasyEDA Pro extension -> open schematic or PCBThe AI tool launches the MCP server. The EasyEDA Pro extension connects to that server over a local WebSocket bridge. Both pieces run on your machine.
What You Need
- Node.js
20or newer npm- EasyEDA Pro installed
- permission to load a local EasyEDA Pro extension
- one AI tool such as Claude Desktop, Codex CLI, Claude Code CLI, VS Code, or another MCP client
1. Build the Local Pieces
From the repository root:
npm install
npm run setup:local
This builds:
dist/index.js, the MCP serverextension/dist/index.js, the extension browser bundlebuild/dist/easyeda_mcp_bridge.eext, the packaged EasyEDA Pro extension
2. Connect One AI Tool
All clients launch the same command:
node /absolute/path/to/easyeda_mcp/dist/index.jsChoose one setup path:
| Tool | Use when | Setup guide |
|---|---|---|
| Claude Desktop | you want a desktop chat app | Claude Desktop setup |
| Codex CLI | you work from a terminal with Codex | Codex CLI setup |
| Claude Code CLI | you work from a terminal with Claude | Claude Code CLI setup |
| VS Code | you use Copilot Chat Agent mode | VS Code setup |
| Other MCP clients | your tool supports local MCP servers | Generic MCP setup |
Configure one tool first. Once easyeda_doctor works there, repeat the client setup for any other tool you want.
3. Load the EasyEDA Pro Extension
In EasyEDA Pro:
- import the packaged extension from
build/dist - enable external interaction permission
- open a schematic or PCB project
- use
MCP Bridge -> Reconnectif it does not auto-connect
Use EasyEDA Pro Extension Setup if you need the full extension flow.
4. Verify the Bridge
In your AI tool, run:
Run easyeda_doctor and summarize whether the EasyEDA Pro bridge is healthy.Healthy output should show:
- extension connected
- protocol compatible
- active document available
Then run:
Run easyeda_get_context and tell me which EasyEDA Pro document is open.With a schematic open, run:
Run easyeda_schematic_snapshot and summarize the component and net counts.If that works, your first setup is done.
First-Run Checklist
dist/index.jsexists afternpm run setup:local- your AI tool launches
node .../dist/index.js - EasyEDA Pro is open
- a schematic or PCB is open
- the EasyEDA Pro extension is loaded
- external interaction permission is enabled
easyeda_doctorreports a connected extension
Daily Startup
After the first setup:
- open your AI tool
- open EasyEDA Pro
- open the target project
- let the extension connect
- run
easyeda_doctor
Useful Commands
npm run setup:local
npm test
npm run typecheck
Default Local Bridge
The MCP server uses stdio for the AI client and opens a local WebSocket bridge at:
ws://127.0.0.1:8765Optional overrides:
EASYEDA_MCP_WS_HOSTEASYEDA_MCP_WS_PORT